

Blogging. You know you should do it, but maybe you are not sure why it matters. Heck, you might not even be sure how to start one in the first place! As a digital marketing for wedding professionals, I do a ton of blogging in my business. And while I think blogging is a great service to offer – I also think it is so valuable to do as a virtual assistant. In fact, I have a whole blog post on why it is so important!
But, starting a blog can be so overwhelming. No problem, my friend! Here is a step by step outline of how to start your blog! All of this can be done in just an hour – so you can get it done TODAY!
Step One: Pick A Blogging Platform
The first step to starting a blog is to find the right platform for you. This will depend on what your current website is on – so I’ll go over the top ones used by wedding photographers and planners. First up is WordPress. Whether you have a WordPress blog with a theme (like Divi or Flothemes) you will have access to a blog. They have the best platform for blogging, including a great SEO plug-in called Yoast!
Squarespace is another popular website platform – and they also have a blog integrated into the platform. Their blogging platform is a little bit less customizable compared to a WordPress based website, but you can still blog right there, without having to create a second website!
Step Two: Pick A Topic
Once you pick your platform, it’s time to write a blog post! There are a few things a good blog post will have. First, you need a topic! When picking topics, think about your target audience’s pain points. What questions are they looking for an answer for? What services do you provide for them? This is a great way to start coming up with blog content for them
For example: If you do social media management, some good blog topics could include: “How to pick the best Instagram posting platform”, “How to create a social media content calendar”, “My three favorite free tools for Instagram”, and “The best times to post on Instagram”. These are all frequently asked questions when it comes to social media – so you should be answering them!
One more tip: keep a majority of the content evergreen. Evergreen content is content that is not time-sensitive and retains relevance. It isn’t stuck on a trend or breaking news. Evergreen content will continue to stay fresh and relevant, even weeks after first writing it!
Want to learn more about evergreen content? Read more about how to write evergreen content, here!
Step Three: Write The Content
When writing a blog post as a virtual assistant, it is important to make sure it is easy to read, and to the point. I recommend blog posts being between 500-1200 words, but longer is always better for SEO purposes.
- Have an introduction paragraph: this should explain to the reader what the blog is about, and why it is important. Make sure to have your keyword, or keyword phrase, towards the very beginning of this section.
- Body content: This is where the bulk of the content is. I like to break it up into little bite-sized pieces using sub-headings, so the reader can skim and read the points one by one. When adding sub-headings, make sure at least one sub-heading has your keyword in it.
- Add a Call To Action: Each and every blog post should have one main goal: to get potential clients or traffic. For each and every post, make sure you internally link to your services, as well as give a call to action. What is a call to action? A call to action is just that: It states to the reader what the next step is. Whether this is to book an appointment, contact you, or read more blog posts, make sure this step is clear. This also allows you to include internal linking. Linking internally to other pages on your website helps show search engines the relevancy of your content. If you’ve written about a topic that’s mentioned in your blog post on another blog post or part of your website, link to that section.
Step Four: Add Images
While not every single blog post needs images, you will want images as the blog icon, as well as images for any Pinterest graphic pins you make. I highly recommend Kate Max Stock! This is hands down my favorite stock company – in fact, every single stock image you see on my website is from Kate Max Stock! Another fun fact? The very first business expense I ever had was a pack of stock images from Kate Max.
Step Five: Link, link, link!
The last step is to make sure to add internal links and backlinks. Internal links are links to other parts of your website. Always have at least one link to your services page, or contact page, in every single blog post. The goal of the blog post is to keep the reader on your website, and clicking around! Make this super easy for them by adding these links right in the text of the blog post. As you write more blogs, you can start backlinking to other blog posts you have, to keep readers going.
How To Start a Virtual Assistant Blog
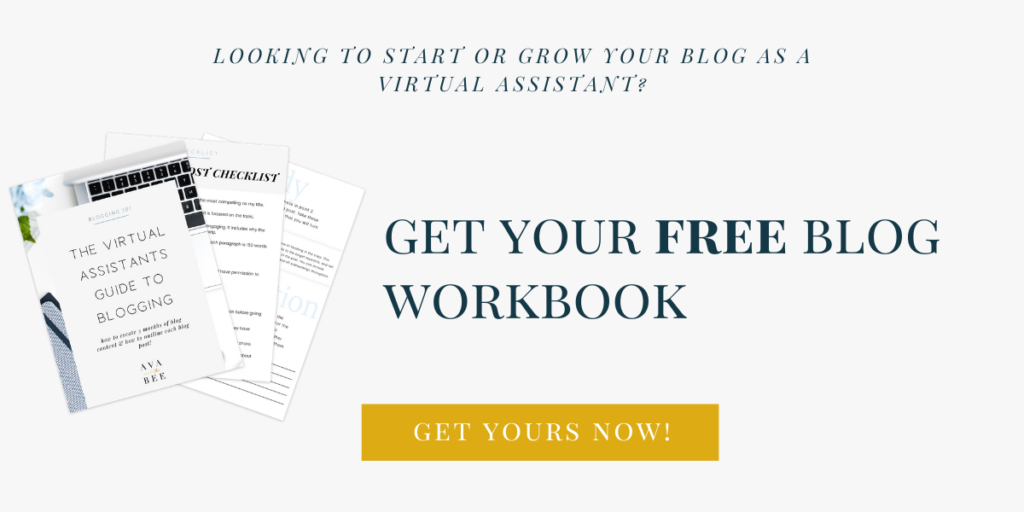
No matter where you are in your virtual assistant journey – from a beginner to seasoned pro – you need a blog! These 5 easy steps will have your blog up and running in just an hour – and you can even write your first post TODAY! To make this even easier, I have a Free Guide – The Virtual Assistants Guide to Blogging. This 20-page workbook walks you through how to create 15 weeks of blog content, how to structure your blog posts, AND 25 blog topics to get you started!
*Some of the links in this post are affiliate links. This means if you click on the link and purchase the item, I will receive an affiliate commission at no extra cost to you. All opinions remain my own.
